Steps for setting up your project on git hub
By Himanshu Sankhala
This blog will be helpful for the user who have developed their project and want to upload on GitHub and they don't know much about GitHub.
Step 1: Dwnload Git bash on you system
Step 2: Create your account on GitHub
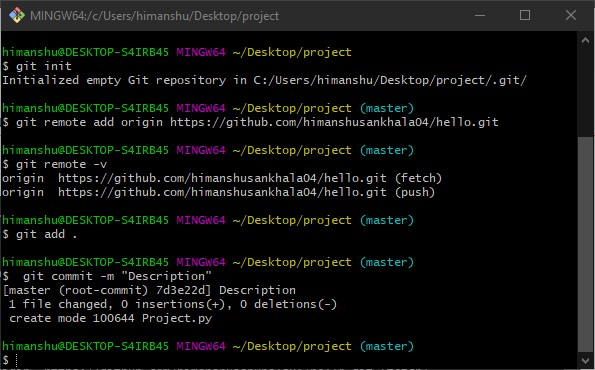
Step 3: Open git bash and cd to the folder where your project is.

$ git init
After that (master) will be appear.

Step 5: After this you have to link this repository to your GitHuib account.
So first copy gitlink from GitHub.

Then type following command in git bash,
$ git remote add origin <your-git-Link>
Then use "git remote -v" .
It Shows URLs of remote repositories when listing your current remote connections. By default, listing remote repositories only shows you their short names (e.g. "origin").Using the "-v" option, you will also see the remote's URLs in listings.

After this git folder will be appeared in your project folder.

Step 6: Now use "git add ."
The git add command adds a change in the working directory to the staging area. It tells Git that you want to include updates to a particular file in the next commit. However, git add doesn't really affect the repository in any significant way—changes are not actually recorded until you run git commit .
$ git commit -m "Description"
Here you can write any description you want to about commit.A commit is a record of what files you have changed since the last time you made a commit. Essentially, you make changes to your repo (for example, adding a file or modifying one) and then tell git to put those files into a commit.
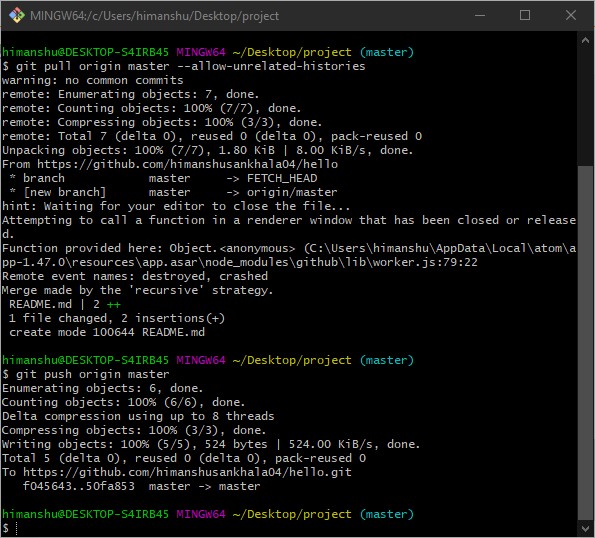
Step 7: We will pull the branch so it will help us to merge new branch and not cause any error
$ git pull origin master --allow-unrelated-histories
Now you will push your project onto GitHub and your project will be uploaded.
$ git push origin master
If you need any more command to use you can $ git help
Finally your project file will be added to your GitHub account.

You can furthermore use ide to handle commit or to push new update to that repository.
I usually prefer using Atom ide.

Himanshu : If this blog was helpful then leave your comments below, thank you.


Nice
ReplyDelete🔥🔥very well explained
ReplyDeleteThank you Himanshu for these blog you have explained very well
ReplyDeletegreat work
ReplyDeleteThanks bro
ReplyDelete