Steps for setting up your project on git hub
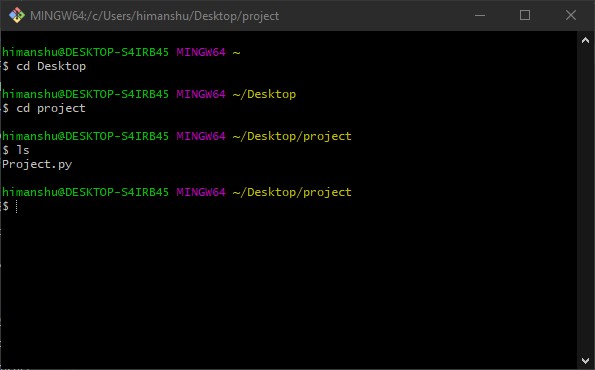
By Himanshu Sankhala This blog will be helpful for the user who have developed their project and want to upload on GitHub and they don't know much about GitHub. Step 1: D wnload Git bash on you system https://git-scm.com/downloads Follow the instructions here to install git (if it's not already installed). Note that for this tutorial we will be using git on the command line only. Step 2: Create your account on GitHub https://github.com/ Step 3: Open git bash and cd to the folder where your project is. Step 4: After cd to your project folder just initialise your repository. $ git init After that (master) will be appear. Step 5: After this y...